
Burl Wood Shelf
How’d we get here oh burl of mine?
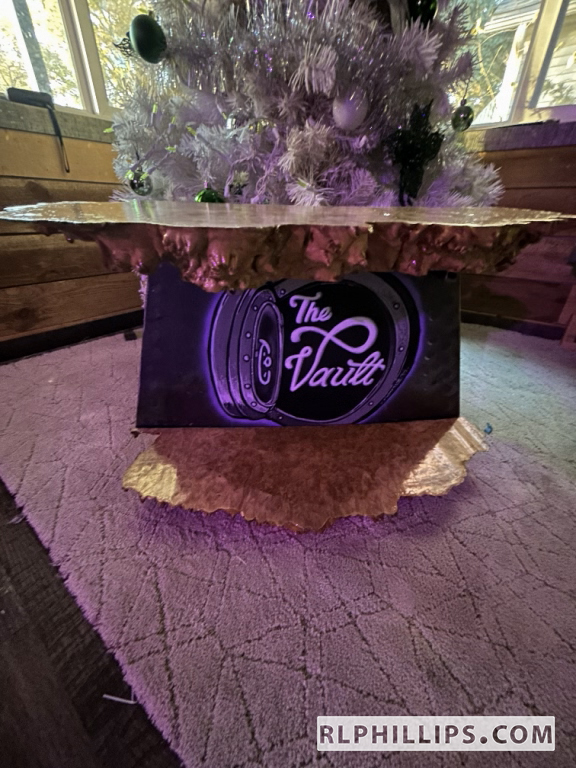
The backstory on this burl wood shelf of ours. A close friend of mine was into epoxy/wood tables a long time ago. He had these burl slabs hanging around as extras for years. To keep it brief he wanted to build a shelf for a friend of his. When you walk into her business this is behind counter.
I lost the drawing that this was built from unfortunately. We had a quick chat about the details. I drew a simple sketch and we hashed out the plan. In this case it was a conversation of style v. function that took about an hour.
Style v. Function
The desired look was minimalist. It was to be super low profile, as non existent as possible. Anything is possible with compromise. I would not put more than 10lbs on one of these shelves max. That is the compromise. Even less weight on the bottom shelf.
Stylistically this shelf is a total win in my book.
Burl Wood Build
We knew what we wanted.
Time to nail down the particulars.
Trying something new, I used some photogrammetry software. I used meshroom. Meshroom is free software if you want to try it. The caveat is a Nvidia based GPU is required. I mentioned meshroom, it was part of the process. I’ll definitely use something like it in the future. I didn’t have the time to get it dialed for production. I went with tried and true methods.
I pulled out a tape measure. I measured the important stuff. Height, width, and depth. I re-created a very simple version of the burl wood in 3D. I’d come back in with a cutting wheel for the wood details.

It is an image at this point. The important part is it is to scale and everything is located properly. The mounting holes in the corners will be hidden by the wood. The holes are spaced at 16″ center to center. Stud spacing in walls is typically 16″ as it was here. I left some room along the bottom for where I’d make my cuts around the wood burls.

Burl wood shelf – materials
Two pieces of burled wood! They worked great. They’d already been smooth cut on both sides. We used some t-nuts for the attachment points and 1/4×20 bolts. Tiny cnc cut tabs provided the steel to wood attach areas.

1/2″ x 1/2″ square tube made the support arms.

The backing piece and the tabs were done from 14 gauge hot rolled steel.

Burl wood shelf – fabrication
I took my time welding. You won’t get flat results dumping a bunch of heat into this at one time. Two opposed welds and cool. Repeat. Rotate. Begin. Lot’s of clamps help the process as well. Rotating the weldment after each post allowed for max clamping on each time.
The design was such I needed to place the posts in the holes. Keeping them square and welding them was regular business. The tabs were welded to the posts first. Each one with a specific landing area in consideration of the woods features. After that, each post was added to the backing piece.

The wood fit-up went straight forward enough.


I must admit, I used the t-nuts in an off label fashion. In this case, I 100% stand by my decision. Perhaps a purist would disagree? If you know, you know. I did use adhesive.

To me, it looks crazy cool. But what matters most is the person receiving it thinks is crazy cool too.

Burl wood shelf – conclusion
This went to another local artist for the paint job. My friend who commissioned the piece did the epoxy on the wood. I think it came together really nicely. I’ve yet to see it on final install unfortunately.


